Cellar Wall Insulation: A Complete Guide
Is your cellar too damp, causing issues like wine aging too quickly, labels peeling, or canned goods spoiling? Without proper insulation, moisture and temperature fluctuations can damage your valuables and increase energy costs.
In this guide, we’ll explain why insulation is important, provide step-by-step instructions, and highlight the best cellar wall insulation products to keep your cellar dry, cool, and energy-efficient.

Cellar Wall Insulation Guide
Insulating your cellar walls is an easy project, and you can totally do it yourself. Follow this guide to get the best results:
Step 1: Test for Moisture
Before insulating, check for moisture problems. Insulation won’t work properly if the walls are damp.
- Look for signs of moisture: Check for water stains, damp patches, mold growth, or white, powdery residue (efflorescence), which can indicate water seepage.
- Use a moisture meter: High readings mean you may need to address water issues first.
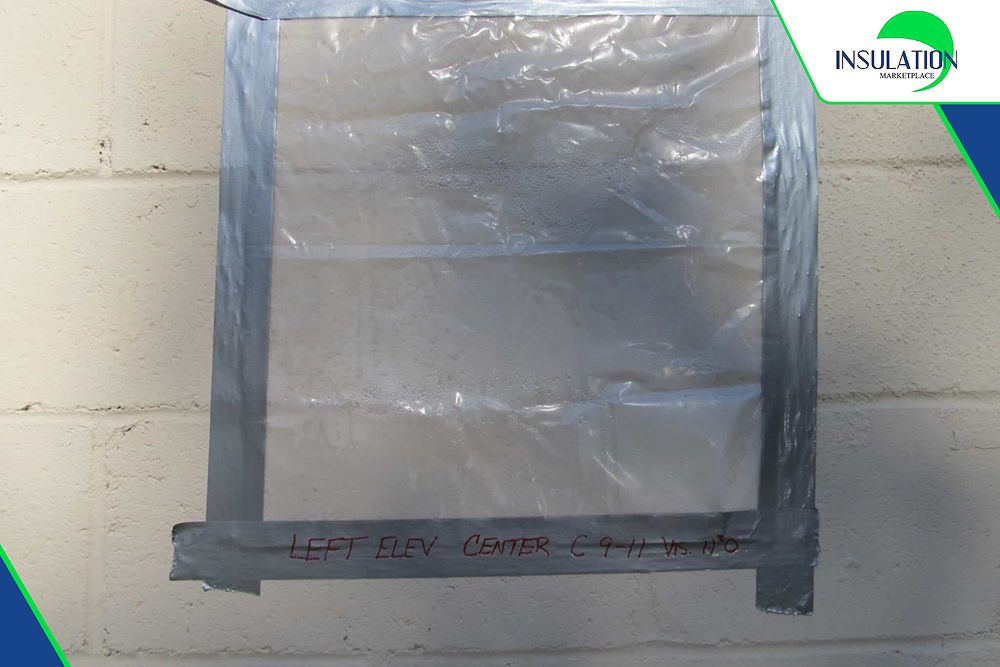
- Try the plastic sheet test:
- Tape a 2x2-foot plastic sheet to the wall.
- Leave it for 24 hours.
- If moisture collects underneath, water is seeping through the walls.
Moisture problems must always be solved first. Improve drainage around the foundation, and consider installing a dehumidifier to keep the space dry.
Step 2: Prepare the Walls
A clean, dry surface helps insulation stick properly and last longer.
- Use a wire brush or vacuum to remove dirt and dust.
- Apply hydraulic cement or sealant where needed to filll cracks or holes.
- Use waterproofing paint or apply a waterproof membrane to protect against future moisture issues.

Step 3: Cut the Insulation
Properly measured and cut insulation makes installation easier and more effective.
- Measure carefully:
- Use a tape measure to get exact wall dimensions.
- Write down measurements to avoid mistakes.
- Next, choose the right insulation material depending on your cellar’s conditions and your goal. Foam core reflective insulation keeps heat in, radiant barriers reflect heat away, and bubble reflective insulation adds a moisture barrier. Pick the one that best suits your needs.
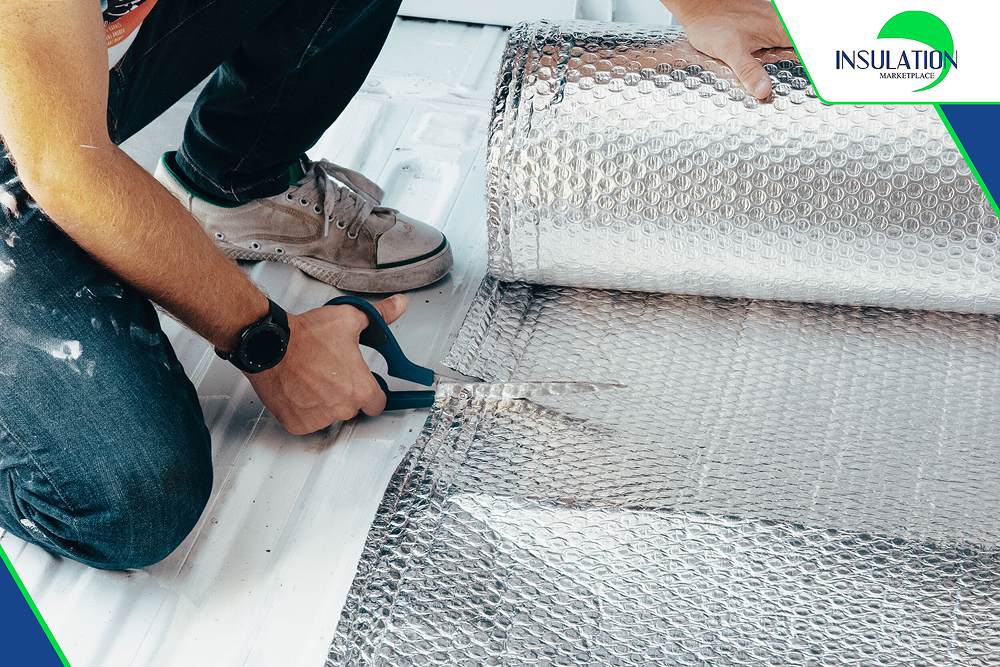
- Cut precisely:
- Use a sharp utility knife or insulation cutter.
- Cut straight for a snug fit against the wall.
Taking time to measure and cut correctly will make installation smoother and ensure the best results.
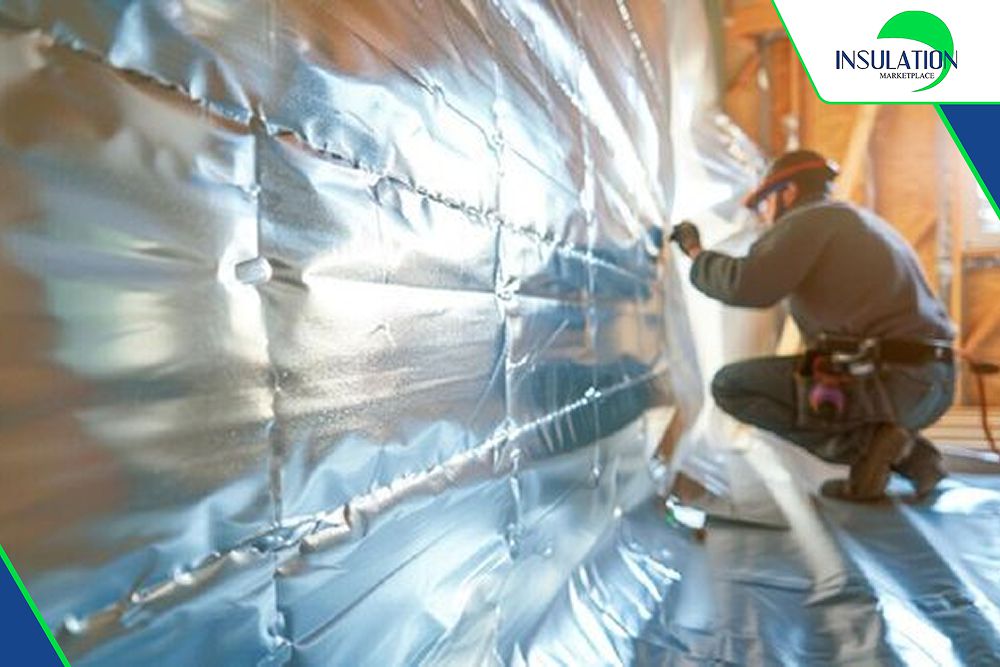
Step 4: Install the Insulation
- Test the Fit
- Hold the cut insulation panels against the cellar walls.
- Check for proper fit and trim if necessary.
- Attach the Insulation
- Use the correct method based on the insulation type:
- Insulation rolls: Apply construction adhesive.
- Other types: Secure with insulation anchors or furring strips.
- Follow the manufacturer’s instructions for best results.
- Use the correct method based on the insulation type:
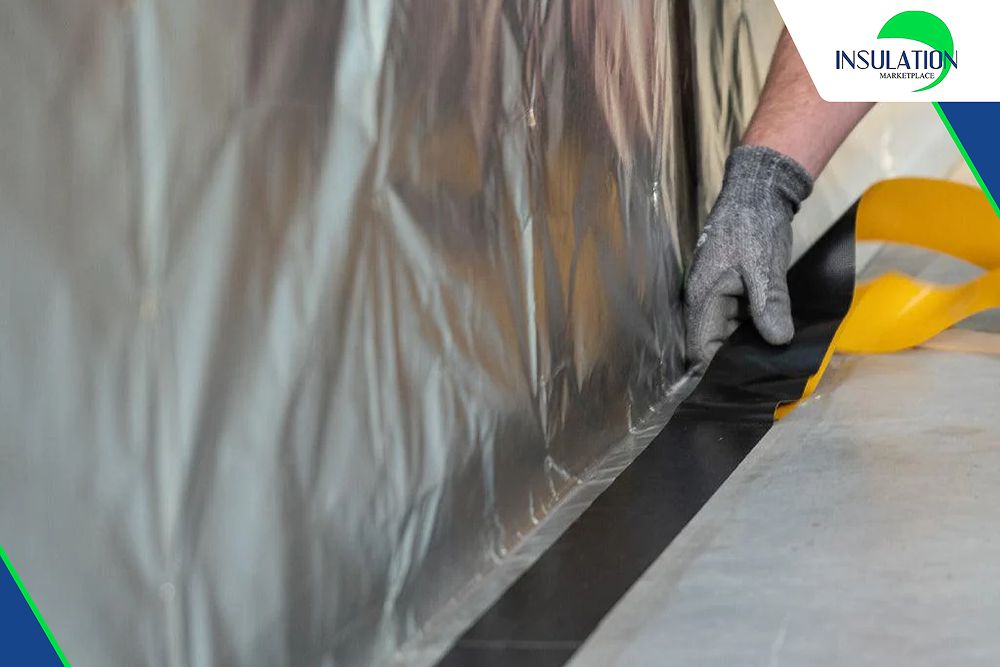
Step 5: Seal and Finish
- Cover the Insulation (Optional)
- For storage areas → You can leave the insulation exposed.
- For a finished look → Install drywall or paneling.
- Final Inspection
- Walk around and check for loose edges, gaps, or exposed seams.
- Seal any missed spots to ensure a proper fit.
Why Insulate Cellar Walls?
The benefits that cellar wall insulation provides far outweigh its cost. Regardless of the cellar’s intended use, proper insulation is a smart investment that can change your life:
- Better storage conditions: An insulated cellar keeps a consistent temperature at about 55°F (13°C). This helps protect stored items like wine, canned food, or household goods. Temperature fluctuations mainly cause wine to age prematurely.
- Reduced moisture and mold growth: The cellar is damp, which is ideal for mold and mildew growth. Insulation will act as a barrier between the inside and outside to prevent condensation, keeping your cellar dry and healthy.
- Improved energy efficiency: Without insulation, cold air is let in during winter, and heat is trapped in summer. This makes your heating and cooling systems work harder and increases energy costs. Insulating cellars helps you save up to 30% of your normal energy bill each month.
- Meeting building regulations: If your home is used for living, cellar insulation is a mandatory requirement in many regions. So, to prevent further issues if the house is sold or renovated, you should insulate the cellar from the beginning.
Best Insulation for Cellar Walls
Selecting the right insulation material is crucial for achieving optimal results. Here are some top insulation products to consider:
- Foam Core Reflective Insulation: SmartSHIELD insulation has a dense foam core with aluminum reflective layers. This product blocks 97% of radiant heat. The material is lightweight, making installation quick and simple.
- Radiant Barrier: SmartFOIL radiant barriers reflect heat away from the cellar's interior. They help maintain a steady temperature and reduce cooling costs. They are especially useful during hot months.
- Bubble Reflective Insulation: SmartBUBBLE insulation has reflective layers and bubble wrap. It provides thermal insulation and moisture control. The material is flexible and easy to handle, and it works well for different applications.
Transform Your Cellar with Superior Insulation
Your cellar should be a safe haven for your valuables, not a place where wine ages too fast and damp air ruins everything. The right insulation can make a world of difference. It keeps your space dry, stable, and energy-efficient, preventing mold growth and ensuring your wine and other goods are safe from spoilage.
Take control of your cellar’s environment today—shop high-quality insulation at Insulation MarketPlace and protect what matters most.