How to Insulate a Ceiling Without Attic
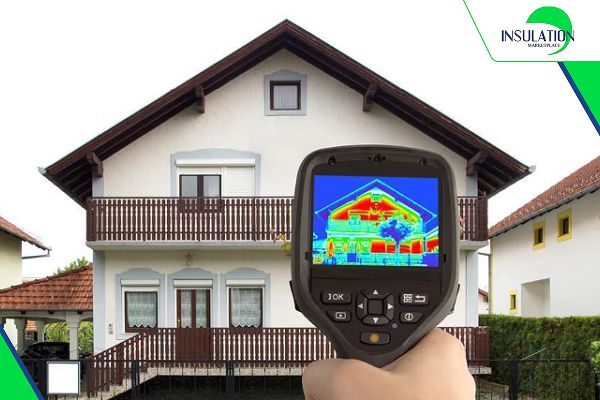
Struggling to insulate your ceiling without an attic? You're not alone! Without attic space, maintaining a comfortable indoor temperature can be tricky. But don’t worry, there are practical solutions. By adding insulation directly to your ceiling, you can keep your home warmer in winter and cooler in summer.
Whatever type of insulation material you choose, the key is proper installation and sealing gaps to prevent heat loss. In this guide, we’ll take you through simple steps to know how to insulate a ceiling without attic, making your home cozier and reducing unwanted drafts.
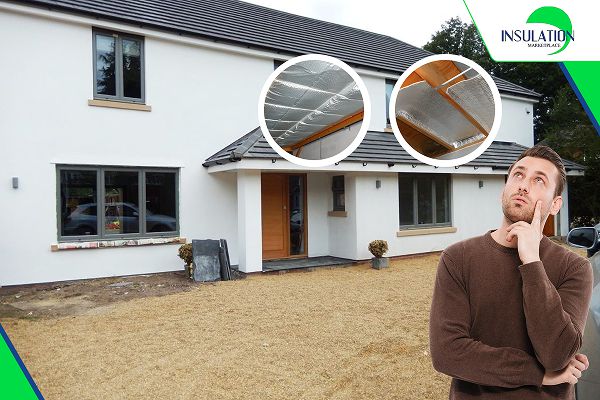
Can You Insulate a Ceiling Without Attic?
Yes, you can definitely insulate a ceiling without an attic. One of the best methods is installing insulation from below. Do this by adding insulation directly to the ceiling surface or placing it between ceiling joists. Some great options to consider are foam core reflective, XPE foam, radiant barrier, and bubble insulation.
If everything is sealed properly, you can stop air leaks and get the best results. In both winter and summer, your home will become more comfortable and the cost of heating and cooling also be reduced.
How to Insulate a Ceiling Without Attic?
Follow these six simple steps to effectively insulate your ceiling without an attic:
Step 1: Set Up Your Workspace
Clear the area beneath the ceiling to allow easy access. Cover furniture and floors with protective sheets. For safety, you should wear goggles, gloves, a dust mask, and a long-sleeved shirt.

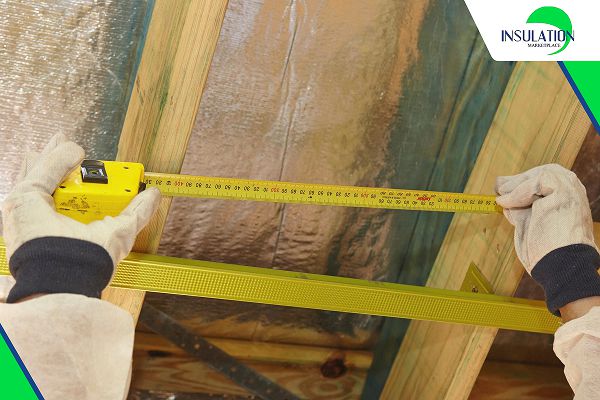
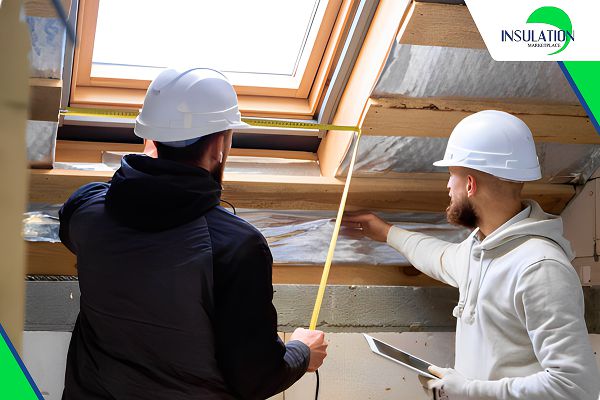
Step 2: Measure the Roof Joists
Measure the length, width, and depth between ceiling joists using tape. Standard spacing is usually 16 inches (40 cm) or 24 inches (60 cm). Make sure you do it right so that the insulation can fit well into the space.
Step 3: Measure the Insulation Material
Now, measure the insulation that fits between the joists or over the ceiling surface. Ensure the reflective side facing downward to maximize its radiant heat-blocking properties.
Step 4: Choose the Right Insulation Material
For the best results, use high-quality insulation from Insulation MarketPlace. Our premium products are designed for maximum efficiency and easy installation:
- SmartSHIELD - Foam Core Reflective Insulation – This lightweight product is easy to install and blocks radiant heat.
- SmartSHIELD Plus - XPE Foam + Glue – Provides strong insulation and easy adhesive application.
- SmartFOIL - Radiant Barrier – Reflects heat and reduces the changes in temperature.
- SmartBUBBLE - Reflective Bubble Insulation – Provides insulation and vapor barrier protection. Areas that are moisture-prone should use this.
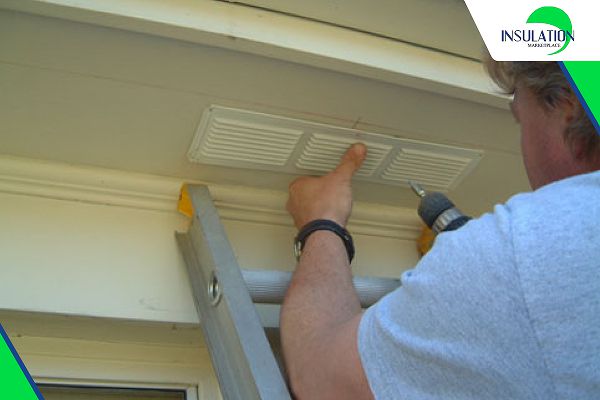
Step 5: Check for Eave Vents
Ensure proper ventilation to prevent moisture buildup. Blocking eave vents can lead to mold and poor air circulation.
If eave vents are present, install ventilation baffles along the roof decking to maintain airflow. Position baffles every 24 inches (60 cm) and staple them securely to the roof.
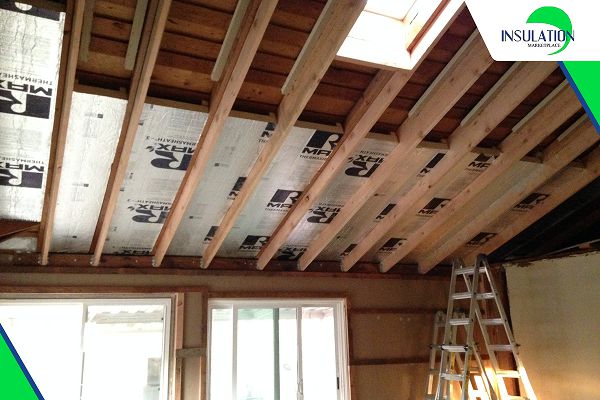
Step 6: Install the Insulation
- For SmartSHIELD - Foam Core Reflective Insulation: Roll out the insulation and fit it tightly between the joists. Ensure there are no gaps or compressions for the best thermal performance.
- For SmartSHIELD Plus - XPE Foam + Glue: Peel off the adhesive backing and apply it directly to the ceiling or joists. Press firmly to ensure a strong bond.
- For SmartFOIL - Radiant Barrier: Roll out the SmartFOIL and fit it over the ceiling surface. Staple it to secure it in place.
- For SmartBUBBLE - Reflective Bubble Insulation: Unroll the SmartBUBBLE insulation and cut it to size. Apply it directly to the ceiling surface. Ensure it is securely in place.
<
Technical Tips for Ceiling Insulation Installation
When installing insulation, consider these obstacles to ensure a smooth process and maximum energy efficiency:
- Electrical boxes: Cut insulation precisely around junction boxes to prevent overheating. Use fire-resistant covers for added safety.
- Lighting fixtures: Keep insulation at least 3 inches (7.5 cm) away from non-IC-rated recessed lights. Insulation can be placed directly over IC-rated fixtures.
- Wiring: Avoid compressing insulation around electrical wires, as it can reduce effectiveness. If wires run perpendicular to joists, slit the batt to fit around them rather than placing insulation over them.
- Ceiling fans: Ensure fan mounts remain accessible for maintenance. Do not insulate directly over the support bracket, as it may affect stability.
- Pipes and ducts: Seal gaps with caulk to prevent air leaks. Use foil-faced insulation on metal ducts to reduce heat loss.
Get the Best Insulation for Your Ceiling
In conclusion, insulating your ceiling without an attic is totally possible with the right materials and methods. All the problems will be avoided if details like ventilation and electrical components are solved. Knowing how to insulate a ceiling without an attic will make your home become the most comfortable place. Insulating your ceiling is a smart choice for any home.
For durable, high-performance insulation, explore Insulation MarketPlace and upgrade your home with materials that make a real difference.
FAQs
1. Can I insulate a ceiling from the inside?
Yes, you can insulate your ceiling from the inside with the following products: SmartSHIELD, SmartSHIELD Plus, SmartFOIL, or SmartBUBBLE. This method is ideal for homes without attic access.
2. Should I put plastic over insulation in the ceiling?
It’s possible as a vapor barrier can help prevent moisture buildup in humid places. But if you install it improperly, the moisture will be trapped and cause mold issues.
3. How can I tell if I need better insulation?
If you notice any uneven temperatures, high energy bills, and drafts, it’s time to upgrade your insulation.